
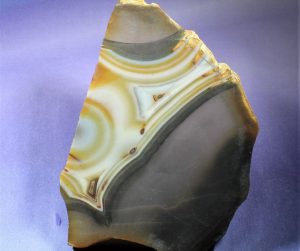
Brazilian agate with its orange-and-white pattern didn’t catch my eye at first as I was sorting through my slabs, but the side of the slab had a translucent area that caught my attention. I’m always on the lookout for this characteristic in material because it allows me to carve patterns in the back that will show through to the front.

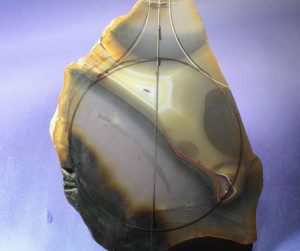
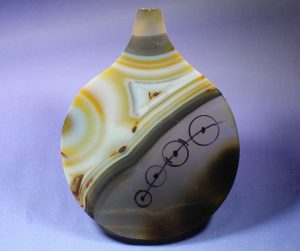
While viewing the front of the Brazilian agate slab, I spotted a much more interesting group of features that I could use to enhance the overall aesthetic of the piece. A three-inch circle would allow me to bring out all of the best patterns that the piece could offer. I sketched the circle and added a curved feature on the top so I could drill a hole for suspending the piece as a pendant.
Where do I get my project inspiration? First, this column pushes me out of my usual cab shape routine and into using different materials, shapes, textures, patterns or colors. I read a lot of books on lapidary and jewelry design and also subscribe to a couple of magazines that have current jewelry styles and materials such as blue gems and minerals. Sorting through my multiple boxes of slabs often triggers my imagination too.
MAKING THE SHAPE
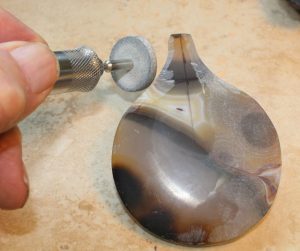
Before and during grinding, I make sure to follow proper lapidary safety precautions. While grinding the piece to a preformed shape, I used a one-inch diameter Mizzy silicon carbide wheel run dry to shape the inside curves on the top section. I drew a line halfway up the girdle as a guide for shaping the dome of the cab. I used an ultra-fine Sharpie felt tip pen to draw the line.
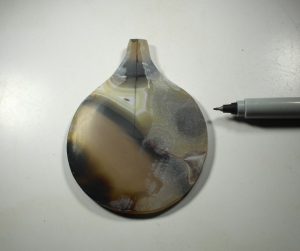
After I finished shaping and sanding the front of the Brazilian agate cab, I turned it over and focused on the translucent area. It was to be enhanced and ultimately be the main focus of the cab. From the start, I intended to drill four holes in the back of the cab so they would show through from the front. I drew a curved line in the center of the translucent area so I could lay out the position of the four holes. (It gives more visual interest if the holes aren’t in a straight line and if they are varied in size from larger to smaller.) I also made sure that they were evenly spaced between the holes.
DRILLING & FINISHING
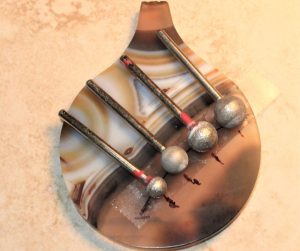
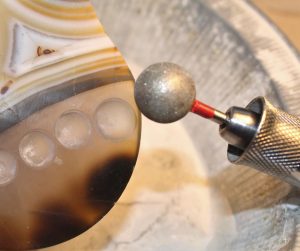
I drilled small pilot holes for each bit and placed the bits in these holes to verify the correct spacing. I started drilling with a small coarse diamond bit. To get the best drilling action on the bits, I turned them on their sides. If you try drilling by placing the bit vertically, the very center of the bit does no work because it is spinning in one spot. By placing it sideways, the diamonds in the bit sweep across the cab and remove material.
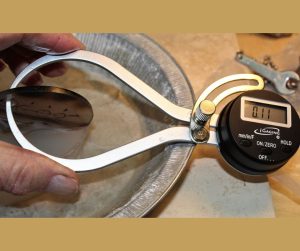
I gradually stepped up in bit size and grit size until I reached the desired hole size. Because I wanted to ensure that the holes were highly visible from the front I drilled the holes up to 1mm from the front of the cab. I used an inside caliper to measure the 1mm depth. The final grinding step involved using a very large bit to chamfer the top edge of the hole to remove any chips.
The finishing steps were done with shaped wood bits using 220 and 400-grit tumbling media followed by shaped wood bits and cerium oxide polish.
The finished Brazilian agate piece came out much better than I had expected!
This story about Brazilian agate appeared in Rock & Gem magazine. Click here to subscribe. Story by Bob Rush.
|


