
Montana agate became my latest Bench Tips project through serendipity – having an aptitude for making discoveries accidentally. I had a crate of slabs that was self-destructing from too much sunshine and general weathering, so I had to replace it. As always when I’m digging through any slabs I look for good candidates for my next project. I picked up a handful of slabs and as I moved them to the new crate this rather small slab dropped out of my hand. When I picked it up to wash off the dirt and dust, a beautiful and intriguing pattern jumped out at me. This was it! The next project!
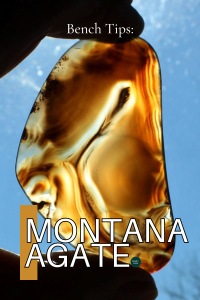
Montana Agate
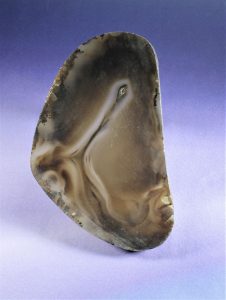
The material turned out to be Montana agate based on the subsurface semicircular fractures that are typical evidence of being river tumbled. This piece at three inches tall was on the smaller side for my projects but the pattern was superb. The outer surface needed to be ground away to remove surface fractures, but I had to be careful to not remove those parts of the rind layer that were a positive contribution to the pattern. I added a slight inner curve on the right side to add visual interest.
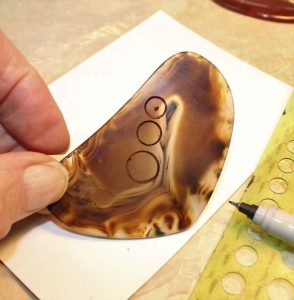
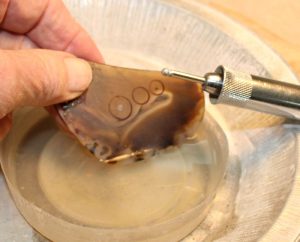
Decorative Holes
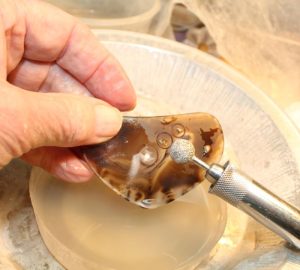
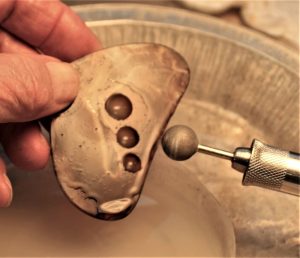
I laid out the size and location of the decorative holes to carve from the back. I started the holes with a small diamond bit. I did this to ensure that the holes were centered in the drawn pattern and so the larger bits had a starting hole. Next, I finished drilling with the larger bits. As I drilled the holes, I routinely checked their depth with an outside caliper. Because there was quite a bit of brown color on the face of the stone I wanted the holes to be close to the front surface. I drilled them to within 1mm of that surface. When I finished drilling the holes, I used a large bit to remove any small fractures on the upper end of the holes by chamfering them.
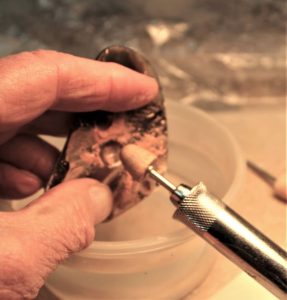
I made some wood bits to fit the holes and used them to sand the holes with 220 and 400-grit as well as cerium oxide paste. While I was going through those steps, I held the cab in my hand with my fingers touching the back side of the holes. This way I could tell whether or not there was an excessive heat buildup. Concurrently, I placed my fingers on either side of the holes to contain the grit or polish residue and to prevent slinging of the excess.
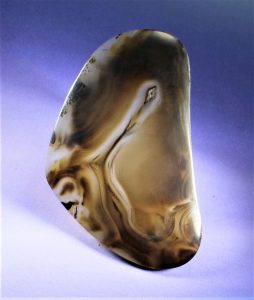
I polished the rest of the cab and held it up to the sun to see the beautiful patterns contained within it. I was very pleased with the results.
|

This story about Montana agate previously appeared in Rock & Gem magazine. Click here to subscribe. Story by Bob Rush.


