
By Bob Rush, Bench Tips column
When I was at the 2018 Roseville Rock Rollers annual show in Roseville, California, I met up with Mike Hopkins, owner of the Scorpion” Silica Crystal mine. I knew he was going to be a dealer at the show, and sure enough, there he was, selling specimens of his lovely gem material. Most consisted of larger pieces—from fist size up to 12 inches across—but I was hoping to get smaller pieces that I could fashion into jewelry. I wasn’t disappointed.
Spotting Suitable Silica
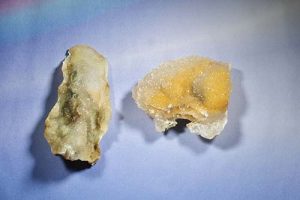
I found two suitable pieces rather quickly. (For a detailed description of this gem material, refer to an article I wrote for the December 2015 issue of Rock & Gem entitled “Scorpion Silica Crystals”.)
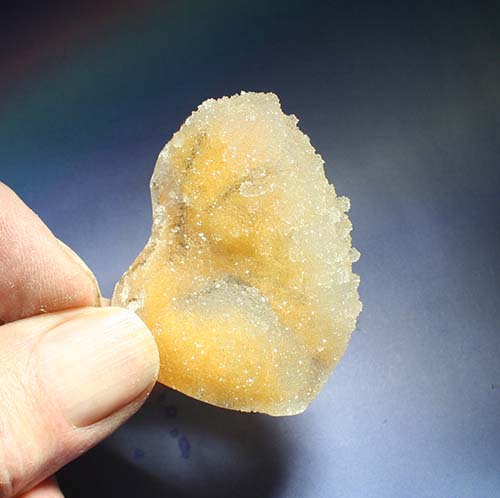
Back home, I examined my purchases and chose to work with the more colorful of the two. It needed some minor shaping. Small white protrusions on one side did not have any support from the back, so I removed them. The final work on the piece was to grind the back flat so that I could attach it to a backing. I tried white, red and black materials for the backing before settling on a perfectly black slab of basanite. I like working with basanite because it is rather durable and takes a great polish.
Basanite Slab Serves as Backing
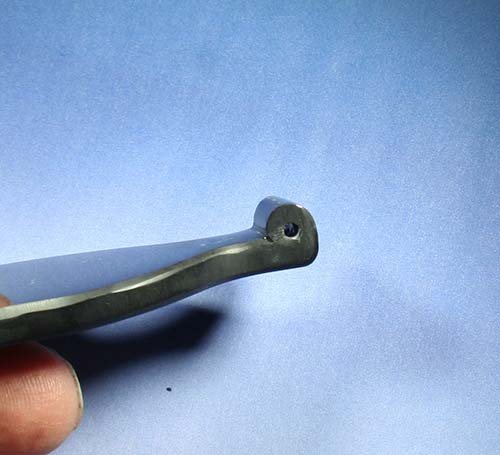
I placed the cab on the basanite slab and sketched a pattern about 1/8 inch away from the crystal’s edge, closely following the contour of the silica crystal. During the design phase of the piece, I decided to incorporate a bail into the basanite backing to make a pendant, so I extended the design upwards to include the bail.
Because the thickness of the basanite would not allow me to drill a very large hole horizontally through the top, I had to devise something to add to the backing to allow for the larger hole, so I cut a small piece of basanite to add to the backing. Before adhering the small piece to the slab, I used a small diamond wheel to cut a groove in the small piece as well as in the top of the basanite backing. This would make it much easier to accurately drill the hole and enlarge it for the bail.
Shaping, Sanding, Polishing
After adhering the small piece with Epoxy 330, I ground it to a pleasing shape. The rest of
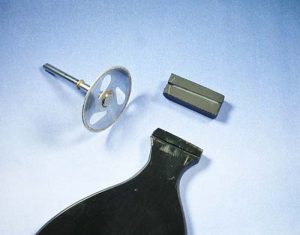
the shaping, sanding and polishing was completed on my lapidary machine. I decided to add a small carnelian accent stone to the bail area. I drilled a round hole in the basanite, shaped it to fit the accent stone and adhered it to the hole with Epoxy 330.
The final step was to lap the back surface of the silica crystal perfectly flat and to rough the front surface of the basanite with a diamond ball bur so the Epoxy 330 would adhere better. The final product ended up better than I had expected!
Author: Bob Rush
 A professional within the lapidary industry since 1958 and metal work and jewelry since 1972.
He teaches at clubs and at Camp Paradise.

Are you intrigued by the topics you see mentioned here?
Are you interested in learning more about Rock & Gem magazine or regularly receiving copies of this stunning magazine in your mailbox or inbox?
You can purchase a one-year subscription (12 issues) for just $29.95. That’s a savings of 71% off the newsstand price.


