
Agate cabochon design starts with inspiration from the slabs themselves. As I sort through my collection, I’m always scrutinizing each one for something that will speak to my inner visions. I look for an unusual pattern, color, shape or orientation that will be different than the usual ones we often see. I also find inspiration from cabs that are posted on various forums. They encourage me to try something new and push beyond the familiar.
Finding Patterns in an Agate Slab
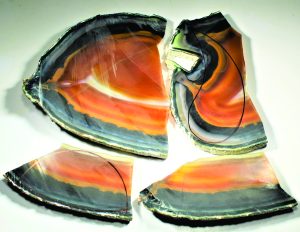
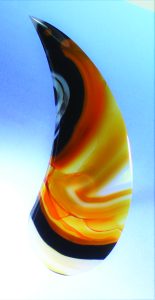
Recently, I slabbed a Brazilian Agate nodule and the inner images were spectacular in colors, patterns and potential cab shapes. It had some black areas juxtaposed with bright carnelian bands. I immediately started positioning my modified teardrop templates to see what possibilities the slab would reveal. One area was perfect for one of the larger teardrop shapes, so I marked it and made a cab. The cab is spectacular. Another area only had a black band, but above that band were some great layers of carnelian, so I marked it as a half-round preform.
Designing a Sunset Agate Cabochon
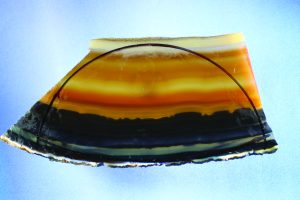
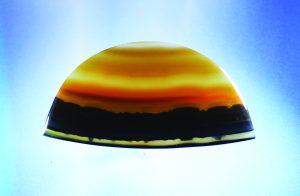
I’m always intrigued by sunsets and sunrises, so when I spy any color or pattern that I can utilize to make a cab depicting them I am thrilled to work with it. This piece had a rugged mountain pattern at the bottom and orange bands at the top. I knew it would make a perfect piece for a sunset or sunrise, so I made a cab from it.
Cabochon Cutting and Shaping Techniques
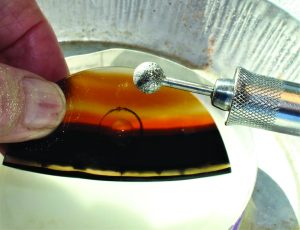
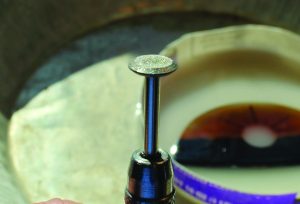
I started by marking the back with a circle template using a sharpie marker and followed that by grinding a round hole with a 14mm diamond ball bur. When grinding with this bur, you have to tilt the bur on its side to get the best cutting during most of the grinding activity. If you push the bur straight down, it works poorly because the very center of the bur is just spinning on itself and doing very little grinding. I ground the hole to within 3mm of the front as measured with a caliper.
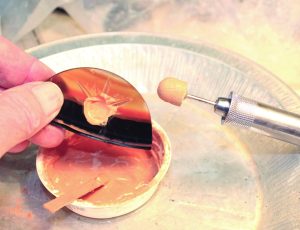
The next step was to sand the hole with a wood bur shaped to fit the hole. I mixed the 220-grit silicon carbide in a small condiment cup with water. Be sure not to get the slurry too wet or it will sling off the wood bur. Run the bur slowly to minimize the slinging of the grit. When the hole looks well-sanded, change to a 400-grit and a newly shaped wood bur and repeat the sanding activity.
Polishing the Agate Cabochon to a Glow
Finally, mix a slurry of cerium oxide. While using a newly shaped wood bur, polish the inside of the hole. Be careful not to let the bur get dry and overheat the bottom of the hole, or it could fracture the piece.
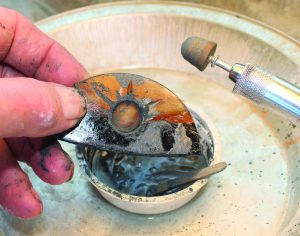
The final steps are to grind the rays with a 10mm diamond “V” bur. Follow this with the sanding and polishing operations as discussed, utilizing a knife-edge wood bur that you shape with a coarse file.
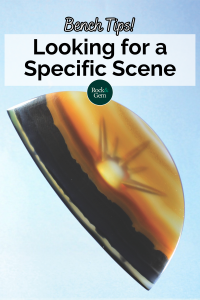
A Sunrise or Sunset in Stone
The finished agate cabochon captured the scene just as I envisioned, with bands of orange and deep contrasting tones forming a natural horizon. Whether it reflects a sunrise or a sunset is up to the viewer, but that mystery is part of the artistry. By starting with a Brazilian agate slab, looking for unique patterns, and using careful cabochon cutting and polishing techniques, the stone reveals its own story — one that glows like the sky itself.
|
This Bench Tips column about creating an agate cabochon sunset scene previously appeared in Rock & Gem magazine. Story by Bob Rush. Click here to subscribe.


