
Wood bur DIY is an essential solution when commercial tools don’t meet your lapidary carving needs. Sometimes, despite searching the internet and consulting colleagues, the exact tool you need just doesn’t exist. In these cases, creating your own wood bur allows you to tackle specialized carving, sanding, and polishing tasks with precision and control.
How to Make a Wood Bur at Home
I do a lot of specialized carving on the back side of my cabs. This carving involves making round holes with round diamond burs as well as making V-shaped grooves using diamond V burs. Following these shaping activities, the holes and slots must be smoothed and polished using rubberized sanding wheels and/or handmade wood burs with tumbling grit and polish.
One of my favorite homemade tools is a wood bur used for the small areas on my carving. I make the burs from wood dowels cut into short sections.
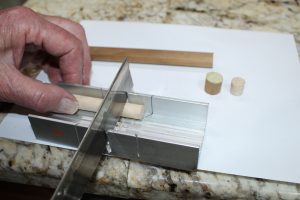
The sections must be cut squarely across the length.
X-ACTO makes a device that fits the bill for this. It is made from a piece of extruded aluminum that sits against a tabletop while you hold the dowel rod in it for cutting. There are slots in the piece that guide your saw as you cut the pieces.
Shaping and Using Homemade Wood Burs for Sanding
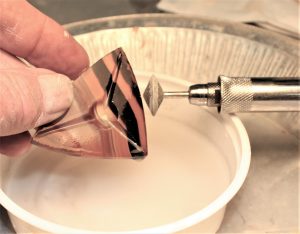
I use a specially shaped Cratex rubberized wheel to do the coarse sanding on the sides of the grooves. The wheel must first be shaped to a reverse angle to reach into the depths of the groove. I shape the wheels with a diamond stone wheel dresser. These tools are used to reshape the surface of silicon carbide lapidary grinding wheels when they get rough or out of shape.
I mount the Cratex wheel on a mandrel and when it is spinning, I hold the back edge of the Cratex wheel against the wheel dresser and abrade it away to attain the desired shape. By applying this shaped edge to the side of the groove in the cab, the edge can be sanded smooth. The Cratex wheel is used dry.
DIY Wood Burs: Drilling, Shaping, and Polishing
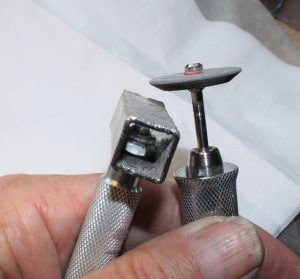
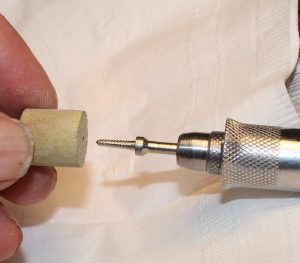
To use the short pieces of wood dowels, they must be drilled to accept the screw end of a screw-tipped mandrel. After the dowel pieces are cut to half-inch lengths, I use a small felt-tipped pen to mark the center. Next, I use a small metal punch to indent the center mark so the small drill gets started straight. The drill bit needs to be somewhat smaller than the screw tip on the mandrel to ensure a very tight fit.
The dowel pieces have to be drilled in the exact center because they are installed on rotating screw mandrels. If the hole isn’t centered, then the dowel piece will wobble badly, and it can’t be shaped as you need it.
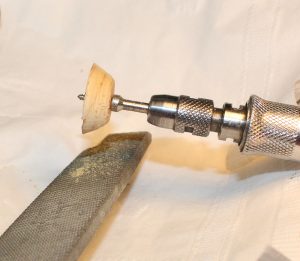
To sand the groove sides, I shape a small wood wheel with a coarse file so that it has an inward slant on the inside. I spin the wheel at a medium speed while shaping it.
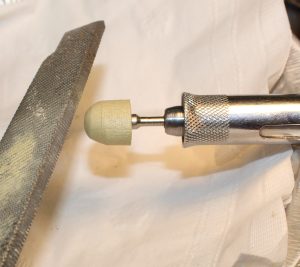
The round holes are sanded with the dowel shaped to a matching round shape. Both of these sanding steps utilize 220 and 400 tumbling grit mixed into a slurry and applied to the surface being sanded.
The polishing step uses newly shaped dowels with a slurry of cerium oxide paste.
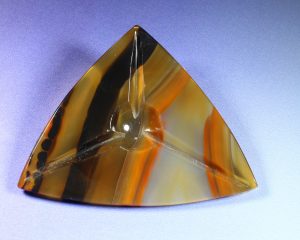
I use all of these steps to carve, sand, and polish the holes and grooves in the back of this cab. The desired effects are stunning.
|
This Bench Tips column about how to make a homemade wood bur previously appeared in Rock & Gem magazine. Story and photos by Bob Rush. Click here to subscribe.


