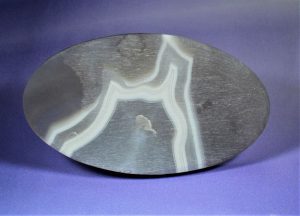
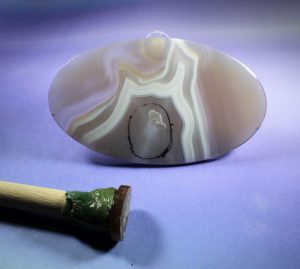
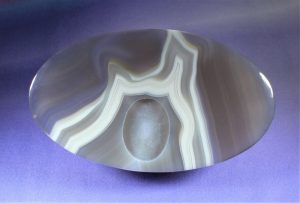
Cabochon preforms by definition aren’t finished and it’s not unusual for the lapidary to have partially completed pieces scattered about. As I was searching through my piles of slabs and such for something new or different I came across a large Brazilian agate cabochon preform that I started working on a few years ago. This particular piece had a surface fracture that I thought I could grind out as I was shaping the piece. It turned out that the fracture was deeper than I thought so I had set it aside and essentially abandoned it. When I started to reexamine it, I saw that I could rescue the piece if I could somehow cover the fracture.
In the past, I have inlayed small cabs as an accent piece, so this was a starting point for this project. I wanted something that would be eye-catching but not compete with or overwhelm the main pattern in the cab.

Fire Agate Inspiration
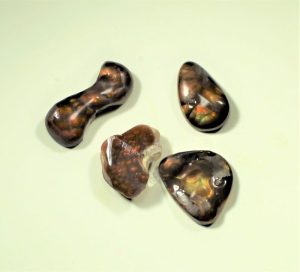
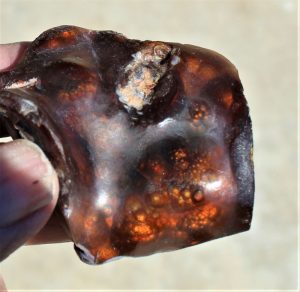
Lately, I have been working on some fire agates. They do present challenges because of their shapes and surface patterns. You mostly have to use some carving techniques to access and expose the very thin color layers.
Typically, this material has a white or clear layer covering the brown-based color layers. After the top layer is removed, botryoidal color bubbles require careful, slow grinding to expose them. You also have to carve away the material between the color bubbles to expose the colors on the side of the bubbles. All of this work is much different than standard cabochon work.
Accessing all of these color features means the final shape of the cabochon will have an irregular outer shape. Setting these cabs requires advanced skills in metalwork, However, on rare occasions, the patterns will allow you to make a common or regular shaped cab.
Making a Small Cab to Fit a Larger Cabochon
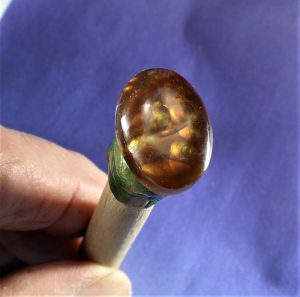
In my current situation, I was able to find a fire agate with a pattern that allowed me to make an oval-shaped cab that was easier to inlay into the larger cab.
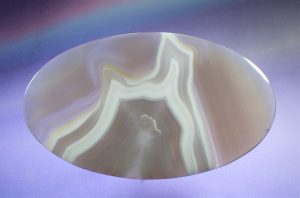
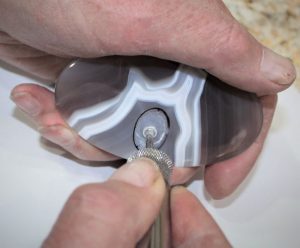
I started by using a small oval template to mark the desired location of the fire agate cab. Because I had finished shaping and polishing the larger cab, my fine point Sharpie wouldn’t mark on the cabochon. I had to sand the area on my cabbing unit with a 220-grit belt to make a suitable surface for marking the fire agate location.
I mounted the cab on a dop stick to make it easier to manipulate as I was checking for a good fit during the hole-grinding steps.
Finishing Up
My first grinding step was done with a small diamond round bur to quickly remove most of the material. The next material removal was done with a small diamond cylindrical bur.
The final material finishing and shaping was done with an inverted cone diamond bur. This step took the longest because repeated fitting checks had to be done slowly and carefully. The finished depth of the mounting hole was 2.5mm.
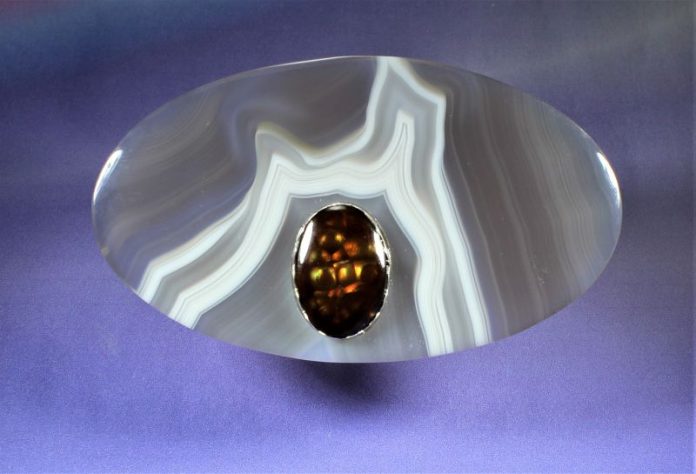
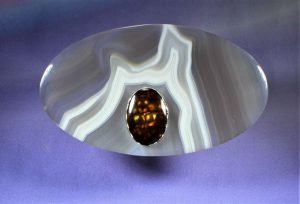
I wanted the inserted cab to have a more finished look so I fabricated a scalloped silver bezel strip which had to be accounted for during the final finish fitting. I attached the inserted cab and bezel with epoxy 330.
As I view the finished piece, I’m happy with the rescue.
|
This story about rescuing a cabochon preform previously appeared in Rock & Gem magazine. Click here to subscribe. Story by Bob Rush.


